How to paint Brick: 10 Steps to paint brick in your Home like a DIY Pro
You may have noticed the recent trend of brick interiors. Their versatility in providing either a traditional feeling or a more modern one makes them constantly increase in popularity. Can you paint bricks? The answer is yes you can. But what is the process of painting brick walls? First, let’s start with the pros and cons of painting on brick walls in your home.
What are the Pros of Painting House Brick Walls?
Applying paint on bricks is an easy way to add a different and clean look to your space and takes away the darkness and heaviness that comes with traditional brick. It is also a cheap option to integrate bricks into their surroundings and décor without the necessity of making major (structural) changes and renovations.
What are the Cons of Painting House Brick Walls?
The most important point is that if a brick is painted once, there is no way back. At least not an easy one. The paint also prevents the brick from breathing which isn’t so much of an issue when it’s inside other than on the outside of a house. But when the brick is painted while it’s wet, the moisture is trapped and can’t escape. In the case that this moisture is exposed to temperature changes the brick erodes and if that also happens to the mortar between the bricks, your home’s structural integrity is at risk. But again this is more the case when used outside rather than inside.


Alexander Gorn

How to paint a brick wall?
Step 1: Clean it up
Before applying paint to a brick wall, you always want to clean it first to make sure the applied paint adheres. For the cleaning process, you can use simple water, or in the case, the dirt is more resilient soap water. Use a wire brush or stiff-bristled brush and soak it in the water/ soap water before using it. If the soap water isn’t enough you can take something stronger like trisodium phosphate (TSP). For that mix half a cup (120ml) and one gallon of water (3.8 l). Then dip your brush into the solution before scrubbing the brick. Always make sure to use safety goggles as well as gloves when using TSP.
In the case that you encounter mildew, apply a solution of one-part bleach and three parts water. Let it sit for 30 minutes before scrubbing the area with a wire brush. Never use acid cleaning solutions, any of which might compromise your paint job.
Always make sure the brick is completely dry before applying any layer of paint or primer.
Step 2: Check for Damages
Check the mortar for signs of damage and repair small cracks with acrylic caulk. In the case that you have bigger cracks and issues, you may have to replace a brick and consider consulting a professional. Again, remember that when making any repairs let everything dry out for the paint to adhere successfully.
Step 3: Apply Primer
Depending on the area you want to apply paint to you have the choice between a brush, a roller, or spray painting. Even though a spray painter may be the easier option for larger spaces, without prior experience and practice, the choice between a brush or roller is recommended to apply the latex primer and later paint. Put additional layers of primer on areas that have been affected by either efflorescence or mildew. (Again, make sure to let it dry). When using roller make sure to use one with thick naps for best results.
Step 4: Select Paint
Use a mineral-based paint or a silicate paint that's designed to be breathable, and is recommended for brick.
You may consider taking the more expensive elastomeric paint. It is resistant to heat, cold, wind-driven rain, and sunlight, making it ideal for outdoor applications but also indoor versions exist. Elastomeric paint is also dense enough to fill in cracks in the bricks, but you may have to apply 2 coats.
Another option is the cheaper acrylic latex paint, which lets brick breathe and, in most cases, only 1 layer is required.
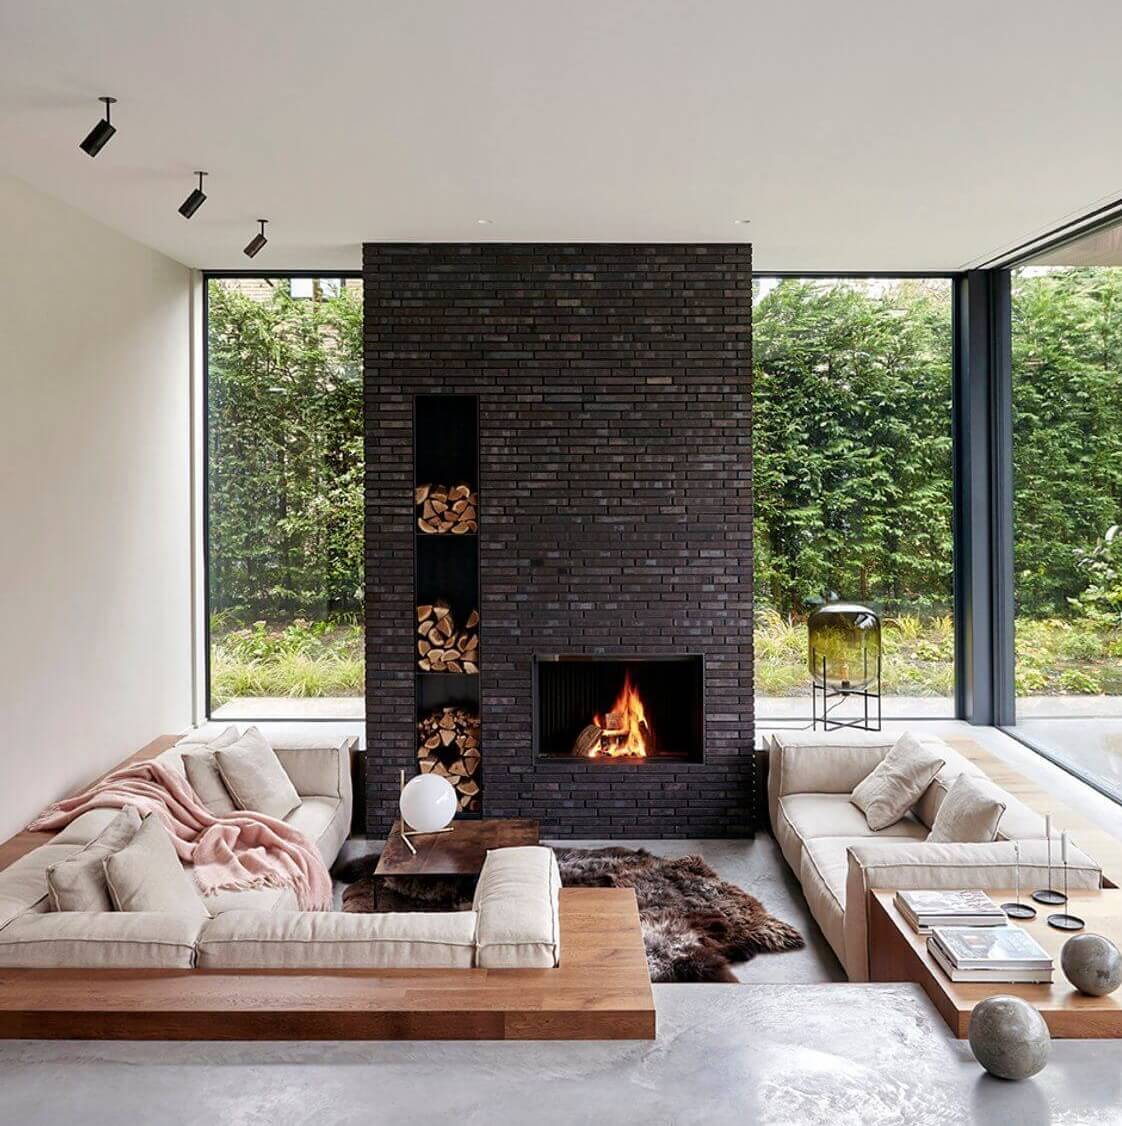
Also when painting a brick fireplace make sure to use heatproof paint.
Many favor semi-gloss or gloss paint since it is better to clean than other colors and accentuates details.
Step 5: Consider Alternatives
An alternative to painting would be staining which accentuates the texture of the brick rather than cover it as paint does. (More to that below)
 Ben Hosking (Point Lonsdale Studio)

Ben Hosking (Point Lonsdale Studio)
Summary
- Clean up with water, soap-water, or a solution of trisodium phosphate (TSP) and water for stronger resilience together with a wire brush or stiff-bristled brush.
- Always fix small cracks in the wall before painting. Large ones might require a professional.
- Apply bleach to mildew or efflorescence.
- Apply latex primer.
- Select between an elastodynamic paint or a regular acrylic-latex blend.
- Never paint damaged or wet brick. The surface should always be clean, dry, and in good condition before painting otherwise, the process can cause more damage.
Alternatives
You may also consider not fully covering your brick with color but rather have some parts of the brick shine through. Depending on how much of the brick you want to see in the end you can use different techniques such as German Smear (also called German Smear or Mortar Wash), Whitewash or Limewash
German Smear – For it, you use white/light-colored mortar to schmear over brick and create a rustic, old-world European style finish. You can control the amount of brick-shine-through by using more or less mortar and can adjust its texture by using more or less water.
Whitewash – This technique is using watered-down latex paint to cover the bricks. Also here you can adjust the coverage of the brick and the amount of shine-through by using more or less water.
Limewash – To limewash your bricks you are applying a special kind of paint made from slaked lime. The look is close to the one of whitewashing BUT you can get rid of it in case you don’t like it anymore. For that, you can simply use a pressure washer, or do it by hand, which might be the better solution for indoors. Simply use a bucket of water and a stiff nylon scrub brush.

The technique you will use depends ENTIRELY on the look you’re going for.
Before you start make sure to have a clear picture of what you want. A great way to get there is to browse Pinterest and find some looks you like. We have made a small collection ranging from natural brick interior over German Smear to fully painted. You can check it out here.
How to German Smear Bricks?
The following instructions assume that you have either white grout or a color that you are happy with.
Clean it!
Also here the first step is to clean up your bricks. It’s the same procedure as described earlier.
Mix it!
Next is getting the right consistency of your mortar by mixing it with water. A standard ratio is 70 percent mortar and 30 percent water and results in a peanut buttery consistency. In the case that you want to have more texture use less water and vice versa. A great way to add texture with a thicker mixture of mortar and water is by applying it with a Putty Knife. Consider making some test batches before applying it to your wall. Ideally, you have some spare bricks on which you can test.
Apply it!
When applying everything make sure to have a bucket of water next to you so you can soak your sponge to eventually remove some mortar at some spots. Apply the mortar in random locations all around the wall, and NOT just in one quadrant or location of your brick wall. This will allow you to add batches of grout later, in case you didn’t mix enough of it. It is always hard to get the exact same ratio of mortar and water once again and the random application of the previous batch allows you to apply the second one without looking splotchy or uneven.
When applying, the sponge shouldn’t be dripping water but instead have enough water soaked up that if you want to squeeze water out, you easily can.
When you start smearing apply it randomly. Smear vertically horizontally step back have a look at it and start again until you are happy. In the case that a spot seems too heavy simply take the sponge with some clean water and wipe it off. Don’t be too afraid since you have relatively much time to adjust your mortar.
When you’re going for a pattern where the white covers all bricks but lets them shine through a bit at some places as in the picture below, you can even everything by taking a dry brush or sponge and go over it in big “X” movements. This is a beautiful way to unify everything a bit.

Finalizing Everything
Before you pack everything up make sure that you are completely satisfied with the end result. It’s hard to make changes once the mortar is dry and you might want to look for clumps that have formed and take them down if you don’t like them.

Derick Mckinney

Alexander Waterworth interiors
Leaving the Bricks as they are
In case you may consider leaving your bricks in its original form here are some inspirations:

@carolinekincheski


A Visual Guide On General Painting

Feel Free To Embed This Graphic On Your Site (simply copy the html code below):
(to adjust the size you can change the percentage at "width". It is currently set at 40%)
Leave a comment